Pages

Showing posts with label instructions. Show all posts

Monday, May 8, 2017

Hyper about HyperDocs


http://hyperdocs.co/ 
I'm using this tomorrow!

These are my favorite words to hear during a professional development workshop. When I hear this, I know I have shared something with teachers that is relevant, applicable and scalable. I also wasn't surprised to hear this during a workshop in which we used a HyperDoc as our main tool.

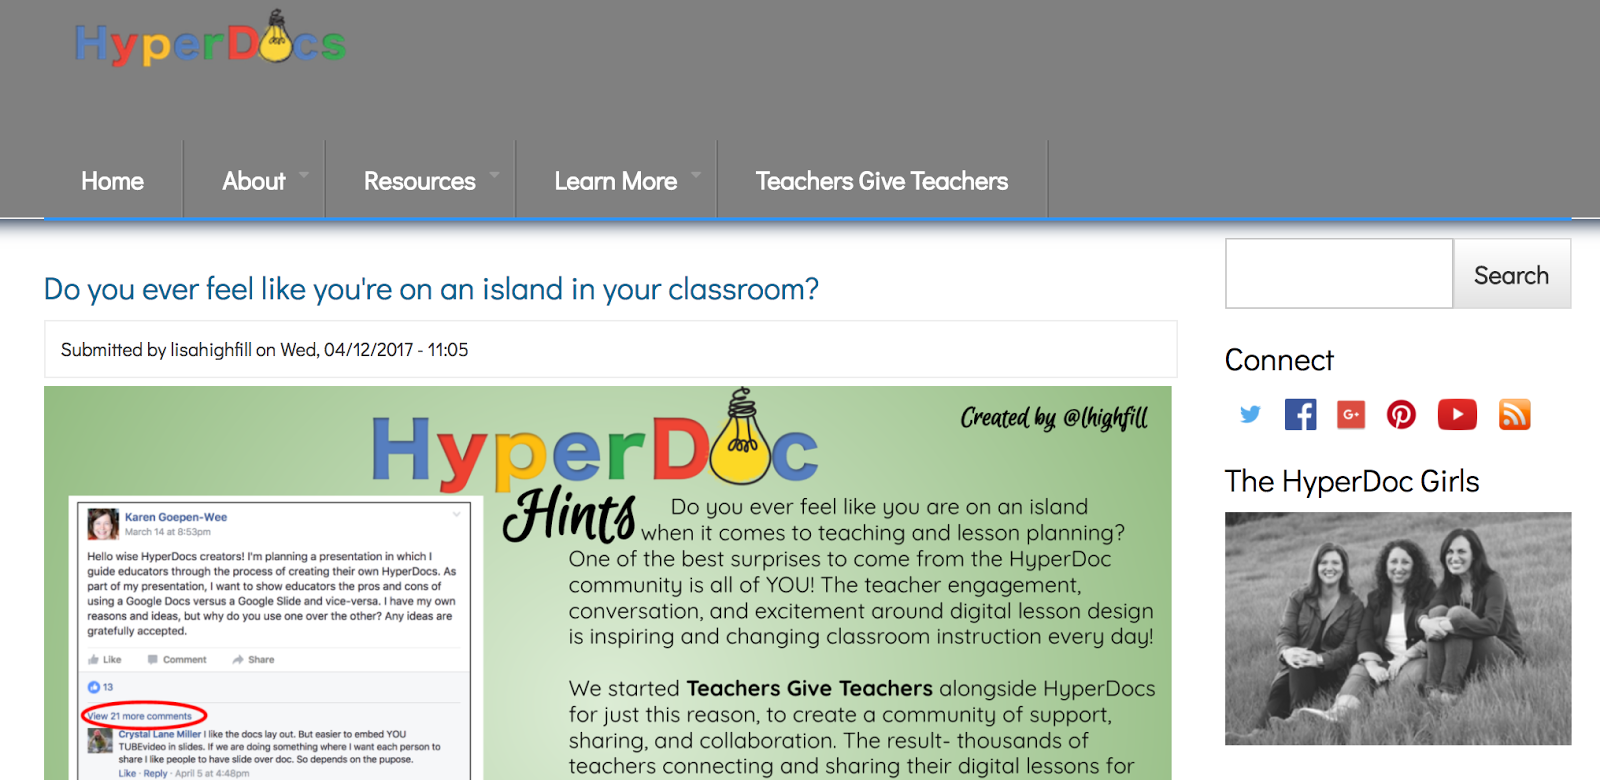
If you haven't checked out HyperDocs from Lisa Highfull, Kelly Hilton, and Sarah Landis, you definitely need to. On the surface, HyperDocs are Google Docs that are visually attractive and provide links to users to different information. But at their heart, HyperDocs are a student-centered, constructivist approach to using technology for student-driven learning. HyperDocs are organized with key words that invite users to be active members in their learning. The Google Docs are framed around verbs like: Engage, Explore, Explain, Apply, Share, Reflect and Extend. The "Engage" section might have users watch a video that sparks their curiosity. The "Explore" links might lead to websites that have further explanation about a topic. "Explain" might ask students to make their own video or voice recording about what they have learned or this might even be a face-to-face component of the lesson where students are asked to turn and talk to one another. As the verbs get more interactive in nature, there are more opportunities for student creation of products and collaboration among students. I particularly like the "Extend" idea which gives students that are really intrigued by the topic further opportunity for exploration.


Templates: http://hyperdocs.co/templates 
In the professional development workshop that I was co-leading, we created three different HyperDocs using one of the amazing templates available on the HyperDocs site. The workshop was about differentiation so we had teachers self-evaluate and choose a HyperDoc based on their knowledge and use of stations for differentiation. Teachers then used this HyperDoc to organize their learning for the session. In our case, each step in the HyperDoc was also a station and we asked teachers to physically move as they completed each step. This was useful for pieces of the HyperDoc that involved physical things (like manipulatives) and for promoting group discussion. Using the HyperDocs kept learners on track and clear in the steps they needed to take. The HyperDocs kept all the links in one place so there was no confusion about "where to go" for certain activities. And, above all, it ensured that our learning was student- (or in this case teacher-) centered and active. We did not stand and deliver a lesson on differentiation, teachers experienced a differentiated lesson and the HyperDocs helped us manage it.

Since that day, I have had numerous teachers share that they have moved to the HyperDoc as a way to organize their instruction. I love that this resource has thoughtful and intentional pedagogy embedded in it. While I'm sure some teachers can adapt a HyperDoc to make it just an electronic worksheet, I think the way Lisa, Kelly and Sarah have created and organized the HyperDocs really lure all teachers into crafting a more student-centered and activist approach to learning. I found it to be simpatico with my creed of Ask, Create, Play, Solve, Share. I believe that just seeing the examples on the HyperDoc Girls website, encourages teachers to think more about what the students are doing and less about what they as teachers will be saying. Their excellent book and website both have loads of tips and background about their thinking behind HyperDocs that are worth checking out. Let me know how you are using HyperDocs in your school. I, for one, am thrilled with a tool that is easy-to-use and has meaningful instruction at its center.


Thursday, November 29, 2012

Augment Your Own Reality

The world of augmented reality continues to amaze and astound me. Below are some directions for how you can create your own augmented reality experiences for your students. For a simpler process, see my post, "Seeing Auras, Through Aurasma, That Is." Below is a way to link trigger images (like a photograph in a book or article) with educational videos (from YouTube or elsewhere).


These instructions might seem long but the process is really quite simple and the website is very intuitive.


1. Set up a (free) account with Aurasma Studio.
  • Go to http://www.aurasma.com/partners/advertiser
  • Use your name for “Company” as well as for “Contact Name”
  • Submit the form
  • It will take 1-2 days for Aurasma to get back to you with a username and login.
2. Once you get your login information from Aurasma, go to https://studio.aurasma.com


To make an article with a video aura:


  1. Find an article you want to use.
  2. If the article already has an image in it, right click on the image and save it in a location where you can find it again.
  3. Find a video you want to use.
  4. Download a copy of the video by using a website like KeepVid (http://keepvid.com/) or by downloading a program like aTube Catcher (http://atube-catcher.dsnetwb.com/video/)

Creating a channel:

  1. 1. Go to https://studio.aurasma.com and login
  2. Click on Channels

Adding the image for the aura:

  1. Go to https://studio.aurasma.com and login
  2. Click on Trigger Images
  3. Click on Add
  4. Give the image a relevant and concise name
  5. Browse for the image file
  6. Click on Close

Adding the video for the aura:

  1. Go to https://studio.aurasma.com and login (if you aren’t still logged in)
  2. Click on Overlays
  3. Click on Add
  4. Give the video a relevant and concise name
  5. Browse for the video file
  6. Click on Close

Making the aura:

  1. Go to https://studio.aurasma.com and login (if you aren’t still logged in) 
  2. Click on Channels
  3. Select your channel
  4. Click on Add Aura
  5. Click on “Aura details”
  6. Give your Aura a hame
  7. Select the trigger image
  8. Click on Overlays
  9. Select he video you want to display
  10. Make necessary adjustments and click on Save
Your Aura is now accessible!