 My job is so much fun. In the past few weeks I have had the pleasure of watching a group of seventh graders figure out how to operate a drone. Yes, a drone. Last year an amazing teacher at our school had her class writing grants for different science-based change projects. One class was working on raising awareness about and reducing light pollution. They wrote a grant to purchase a drone so that they could take pictures over our city to compare light pollution on different days. But now that project is over.... so.....
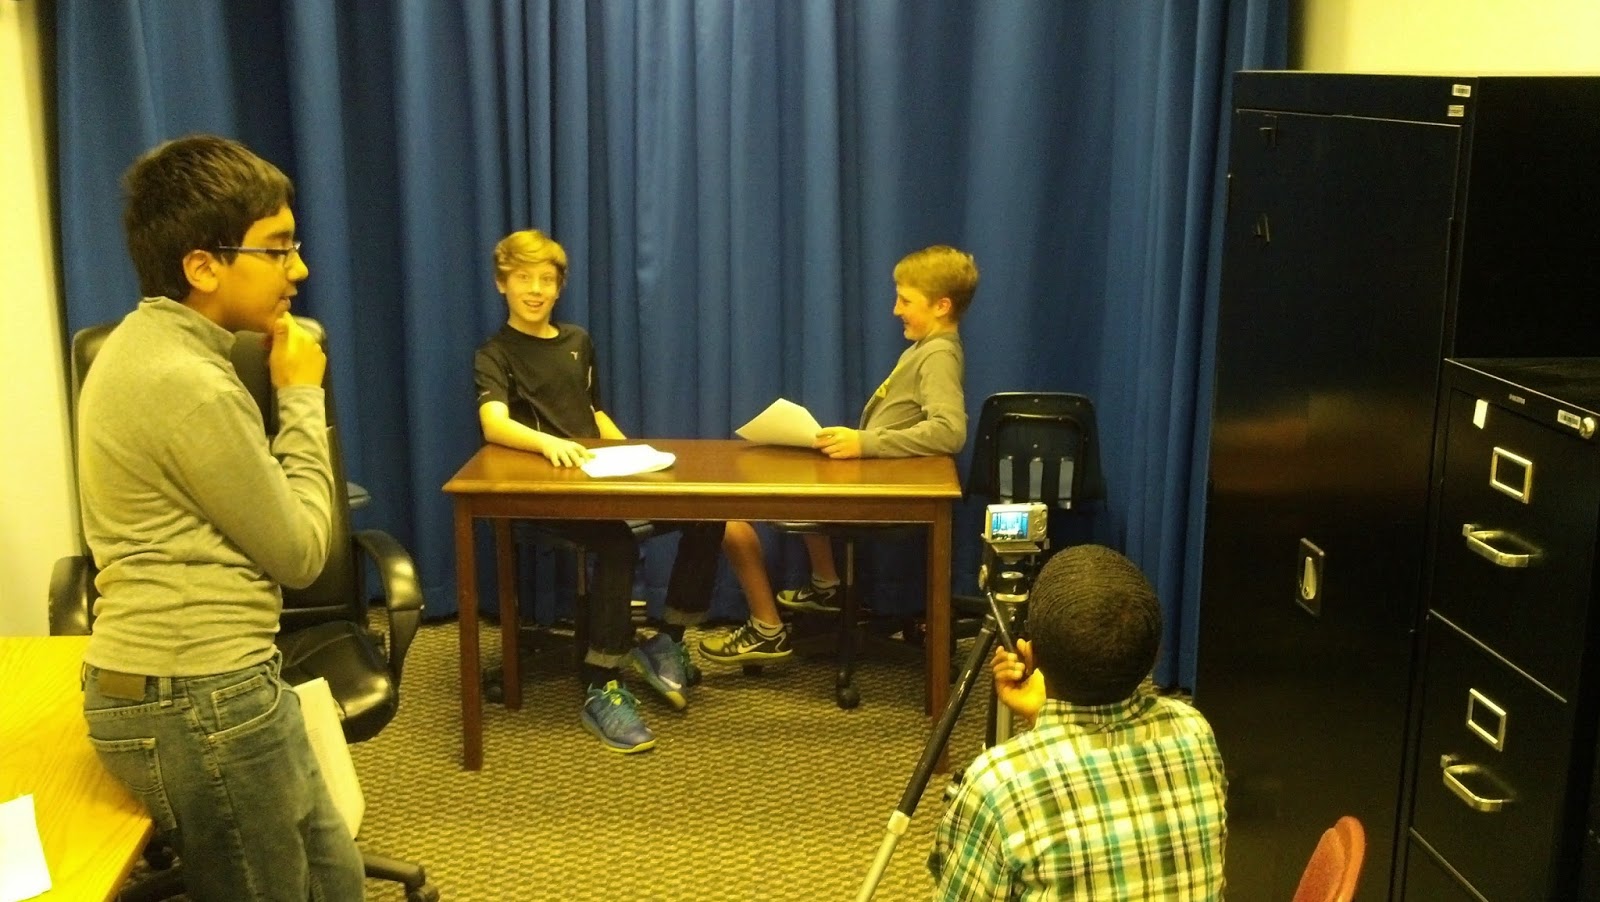
The students in my Student Technology Assistance Team (STAT) found the drone and learned how to make it work. They figured out how to set up the wireless network and connect a device (phone, iPad) to it. They figured out how to fly it and how take pictures and videos as they flew it. It wasn't a smooth process. We had trouble remembering to charge the battery, we had a few crash landings, we might have tried to put it together backwards. *grin* But overall, these seven students now know more about drones than any of their teachers.
 Which brings me to our next project. The other day the STAT kids shared what they knew with 30 teachers from across my school division. They prepared their presentation and wrote a script explaining what a drone is and how they might be used in society. Then they modeled how to fly the drone. But we all know modeling isn't enough when teaching. So, next, they let the teachers try out the drone for themselves. Teachers had a blast trying out the drone and loved being taught by students.
But now what? We have this really cool drone, we know how to fly it, we know how to take pictures with it. Some teachers know about it. But how can it be used from here? Our students have come up with a ton of lesson ideas which I think are really cool. I'd love to hear more ideas or if you think these ideas are even plausible.
World Language or Beginner English Language Learner classes
- Use target language to give directions to the pilot
- Ex: Arriba!
- Use target language to describe what is being seen
Math
- Take aerial shots to study perimeters or other geometry concepts
- Comparing how things look from the side, from above, etc.
- Make a giant graph, drive the drone to specific points
- Teach the concepts of X, Y and Z
Civics/Social Studies
- Debate about privacy rights
- Take aerial shots to compare to historical maps
- Practice map skills (north, south, east, west)
Science
- Understand lift and flight design
- Aerial shots of erosion, watersheds, etc.
Physical Education
- Aerial shots of students playing sports for analysis
Technology
- How does it work?
English
- Write pro/con debates about the use of drones
Art
- Aerial shots to draw from
- To teach perspective

